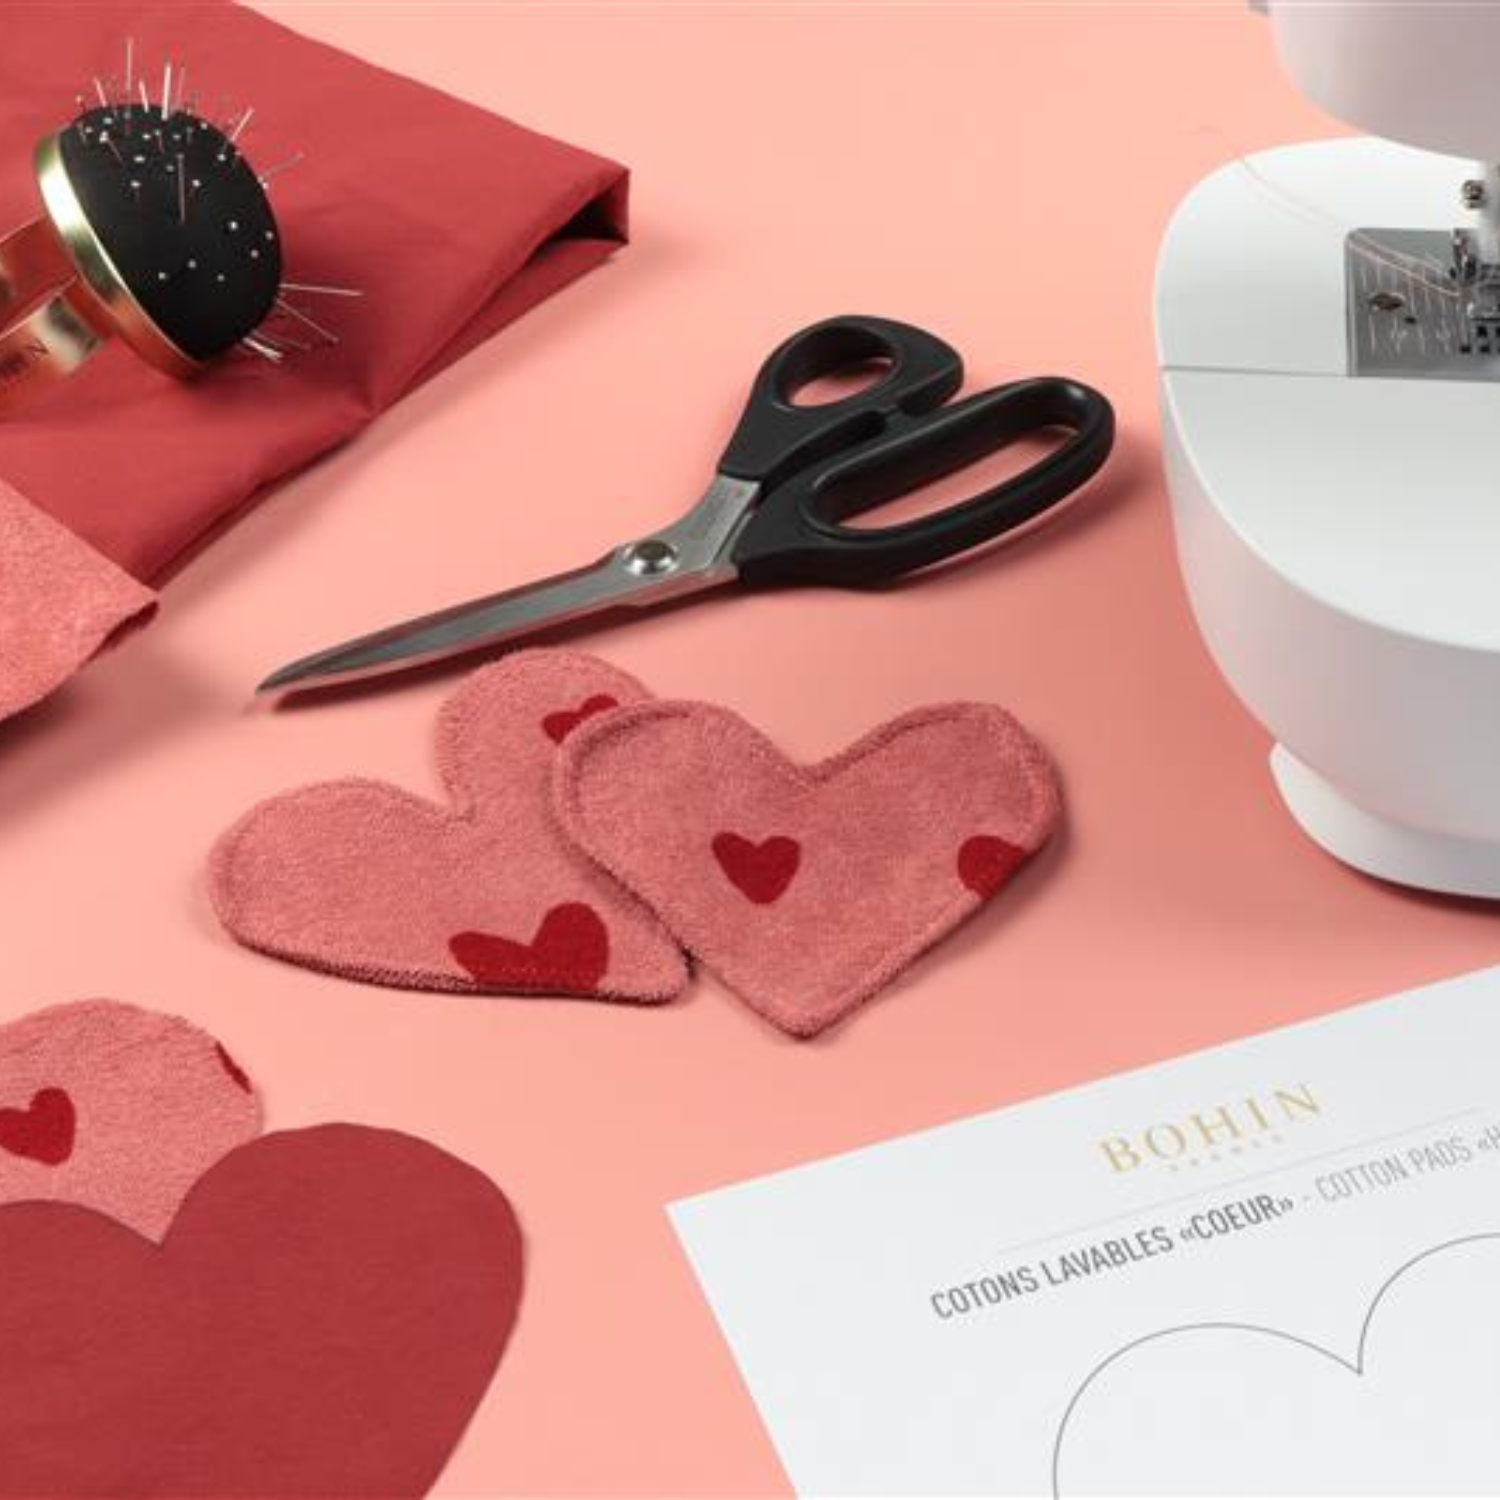
How to prevent fabric from fraying?
When you start sewing and want your projects to last, you need to prevent the fabric from fraying.
There are several techniques to preserve fabric edges, which we will detail in this article.
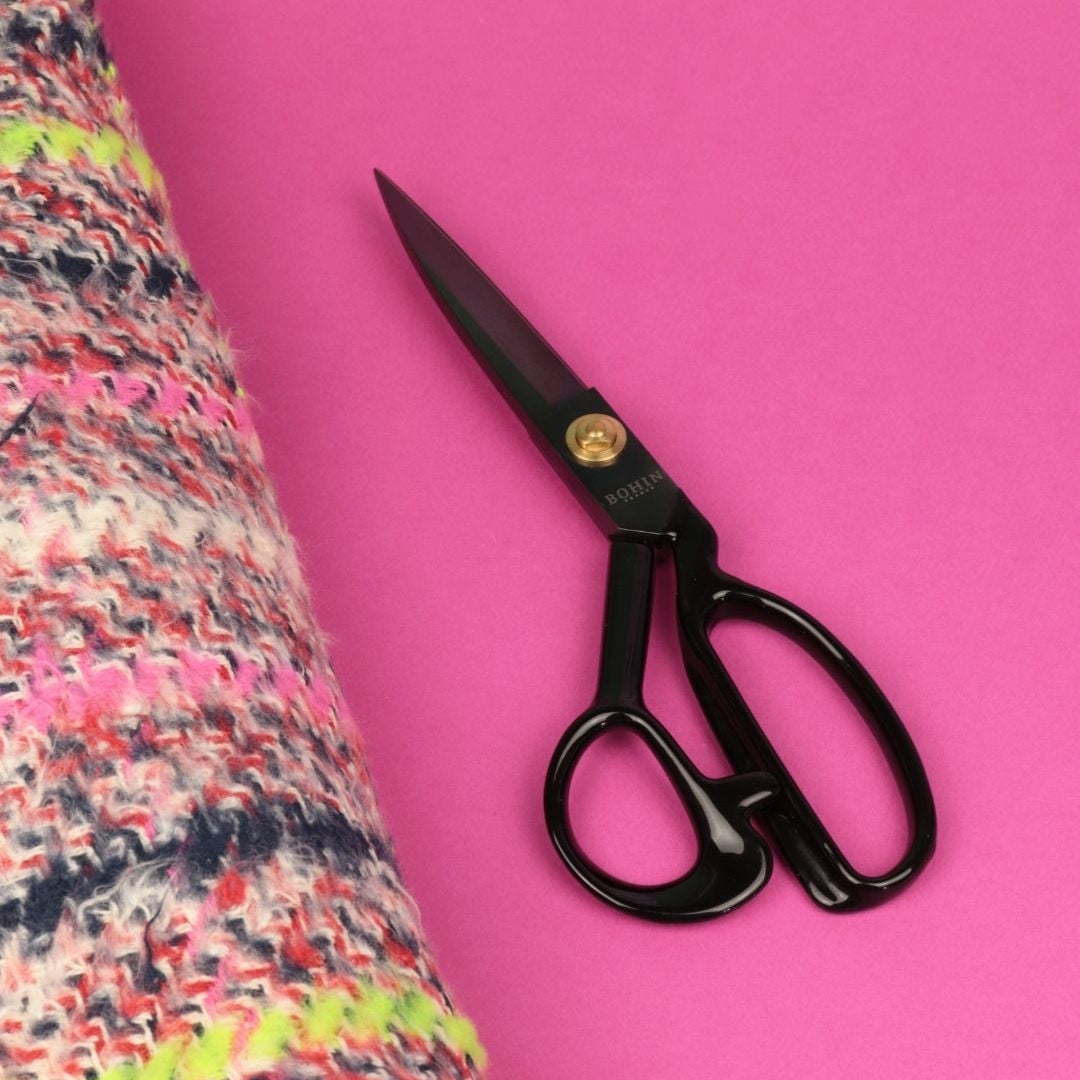
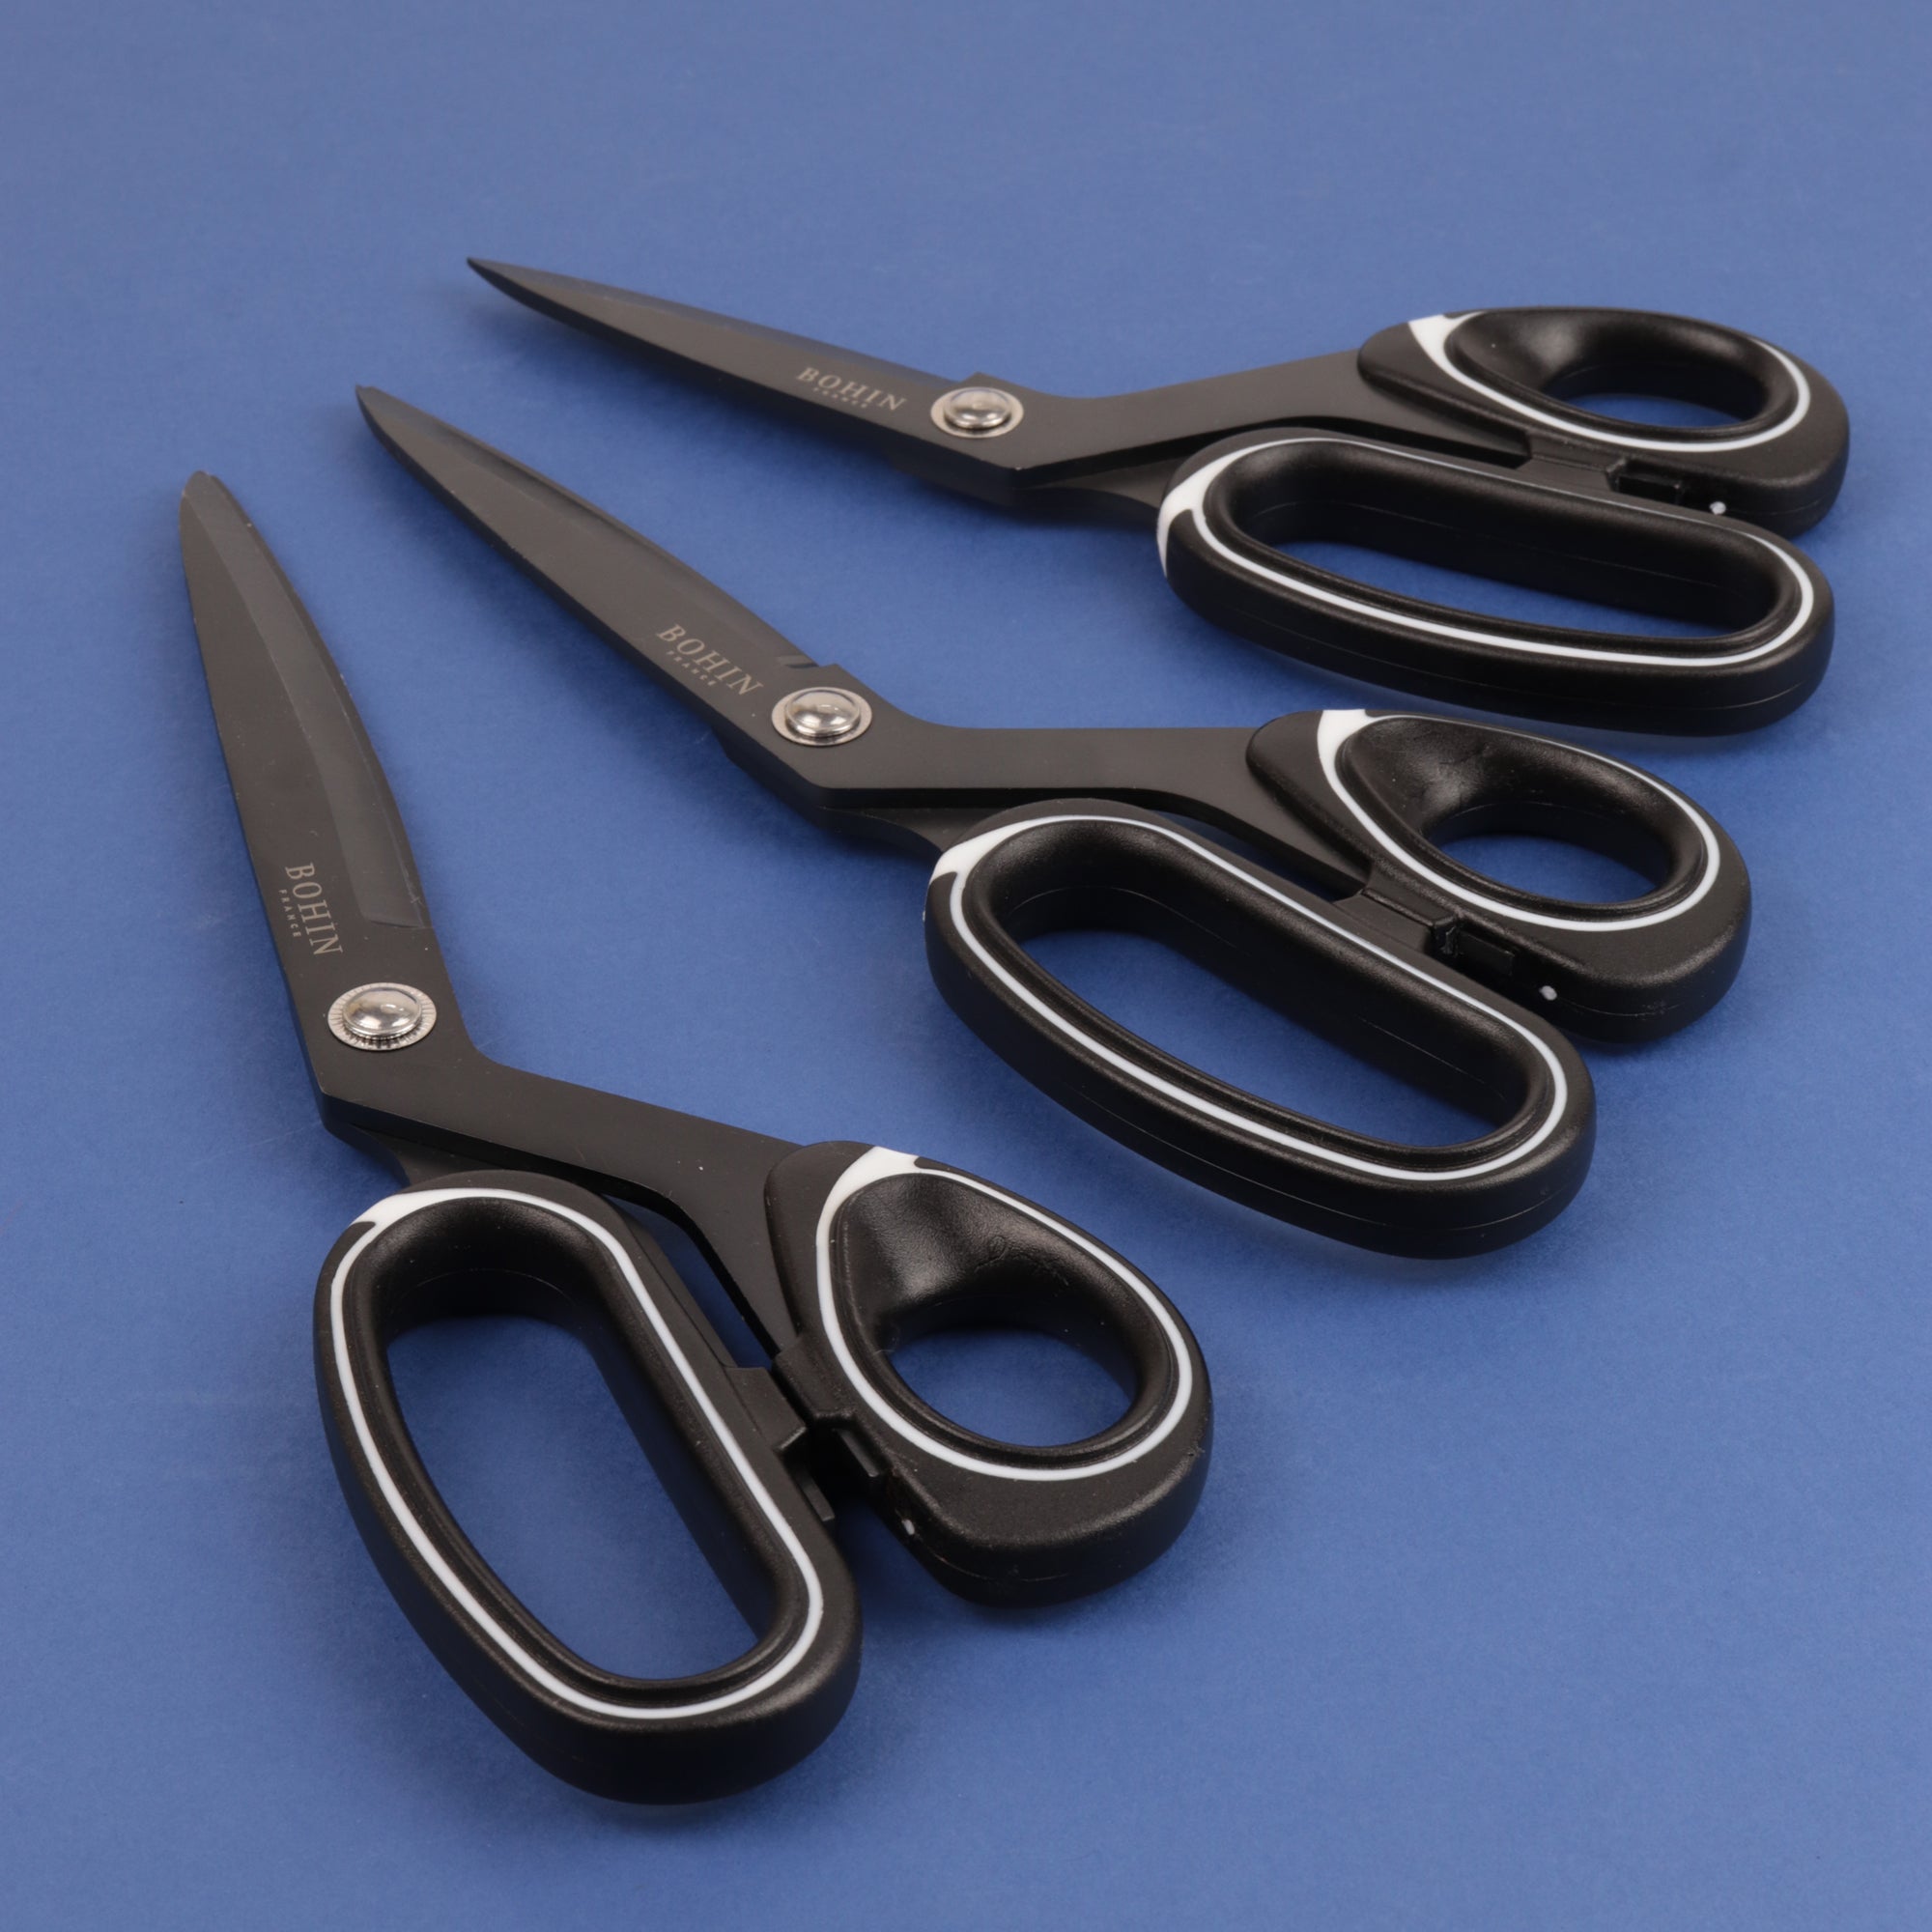
Stabilizing frayed fabric with pinking shears
Woven fabrics, which are non-stretch, are easy to cut and sew without a serger. However, these fabrics, especially if they are thin, fray easily. You can cut with straight-blade scissors and sometimes even tear your fabric. Cutting with straight-blade scissors will give you a clean result at first glance, but it may not be on the grainline. The fabric will not be stable and will fray.
Whether your fabric is stretchy or not, cutting it with pinking shears will stabilize it more durably than with straight-blade scissors. However, it will still be necessary to overcast before sewing. Some fabrics can get by with just pinking. However, they will fray over time with washing and wear.


Overcasting without a serger: Instructions!
You don't need a serger, or even an overlock stitch on your sewing machine, to prevent fabric from fraying. With a simple beginner's sewing machine, you can make a zigzag stitch that will easily replace the overlock stitch. For moderately fraying fabric, a simple zigzag is sufficient. If your fabric frays a lot, you can make a multi-point zigzag stitch, which is much more resistant.
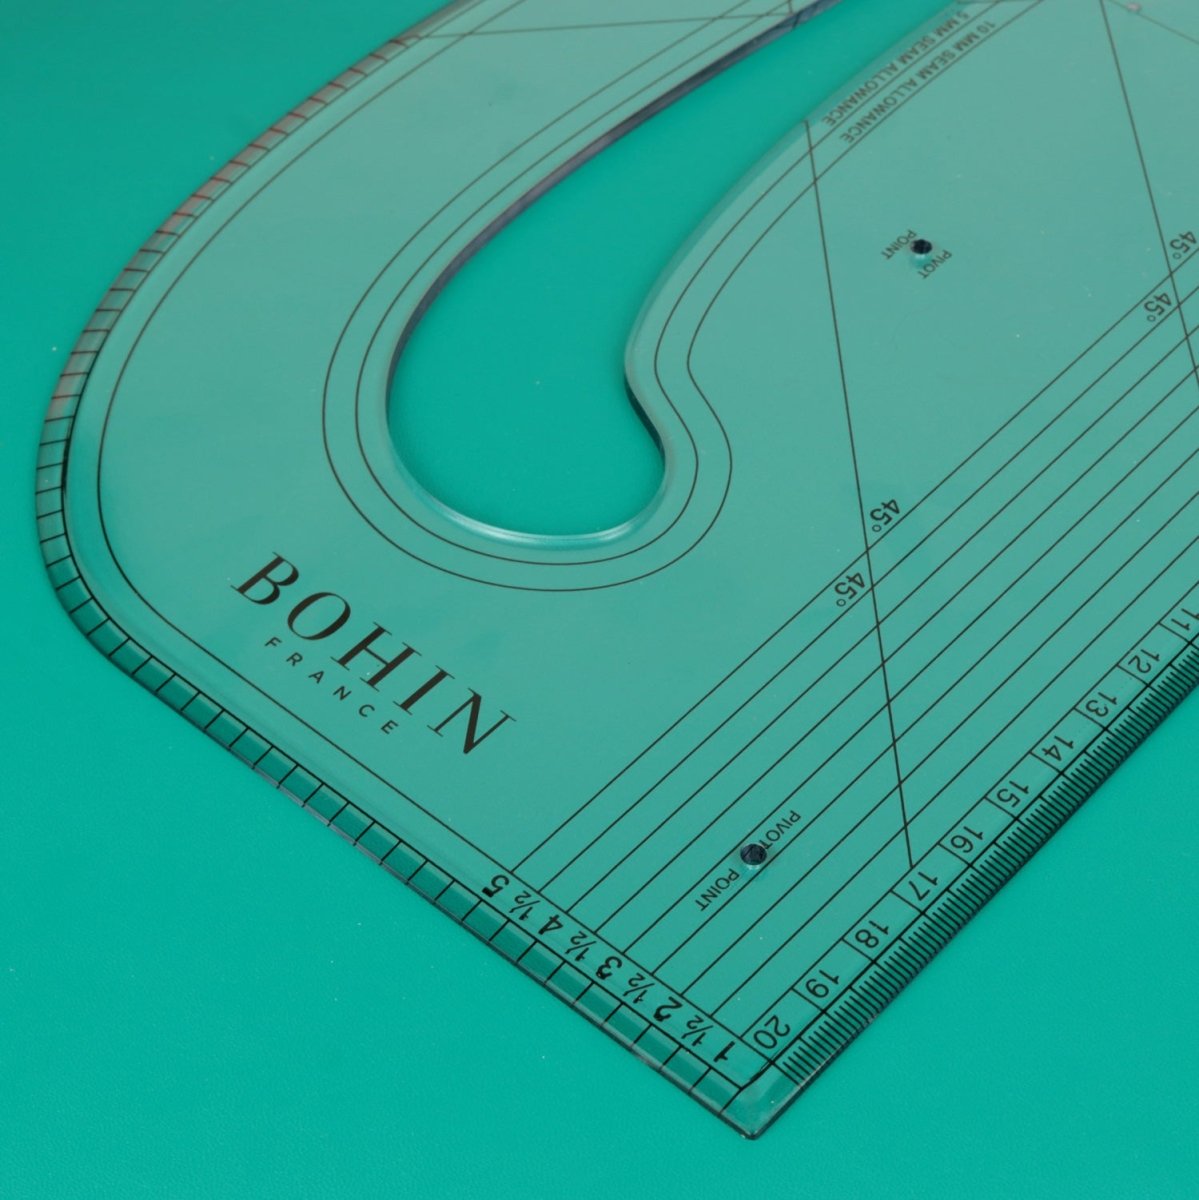
Start by testing on a fabric scrap. This will allow you to calibrate your stitch and ensure it holds well within your seam allowance. The zigzag stitch is made as close to the edge as possible. If your seam allowance is large enough, you can make your zigzag stitch a little further from the edge and then trim the seam allowance. You can then use straight blades or pinking shears to complement the anti-fraying effect of the zigzag stitch.
Once your fabric is cut, select a piece with a single layer of fabric. You will probably need to choose thinner needles than for assembly. In the case of the poplin in our demonstration, we use an 80 needle for assembly. For overcasting, a 70 needle will be more suitable.
To help you, you can trace your seam allowance. Make a zigzag as close as possible to the raw edge of your fabric. Reduce your seam allowance if necessary, and you are ready to assemble.

Preventing fabric from fraying without a zigzag stitch
Binding the raw edges of frayed fabric
If you don't want to serge or overcast your fabric, you can bind it. Binding encloses the raw edge of a fabric. This prevents it from rubbing and the fabric from fraying. This method is particularly used for transparent or very thick fabrics. An unlined jacket will have an impeccable inside with bound seams.
Prepare your pattern piece, trim any threads protruding from the raw edges. Take a thin bias tape, open it. Align one edge of the bias tape with the raw edge of the fabric. Sew a straight stitch along the fold using our special bias binding sewing machine foot. Fold the bias tape over the raw edge. Stitch over the seam you just made. Binding is therefore done before assembly.
If you are using ribbon, you can pass it through a bias tape maker to give it a shape that will be easier to sew. You can also simply iron it in half. The principle is the same as for applying bias tape. The advantage of binding with ribbon is that you have one less layer of thickness. Binding with ribbon is therefore a way to prevent fraying of thick fabrics.


French seams, anti-fray during assembly
This technique allows seams to be enclosed. However, it requires enlarging the seam allowances.
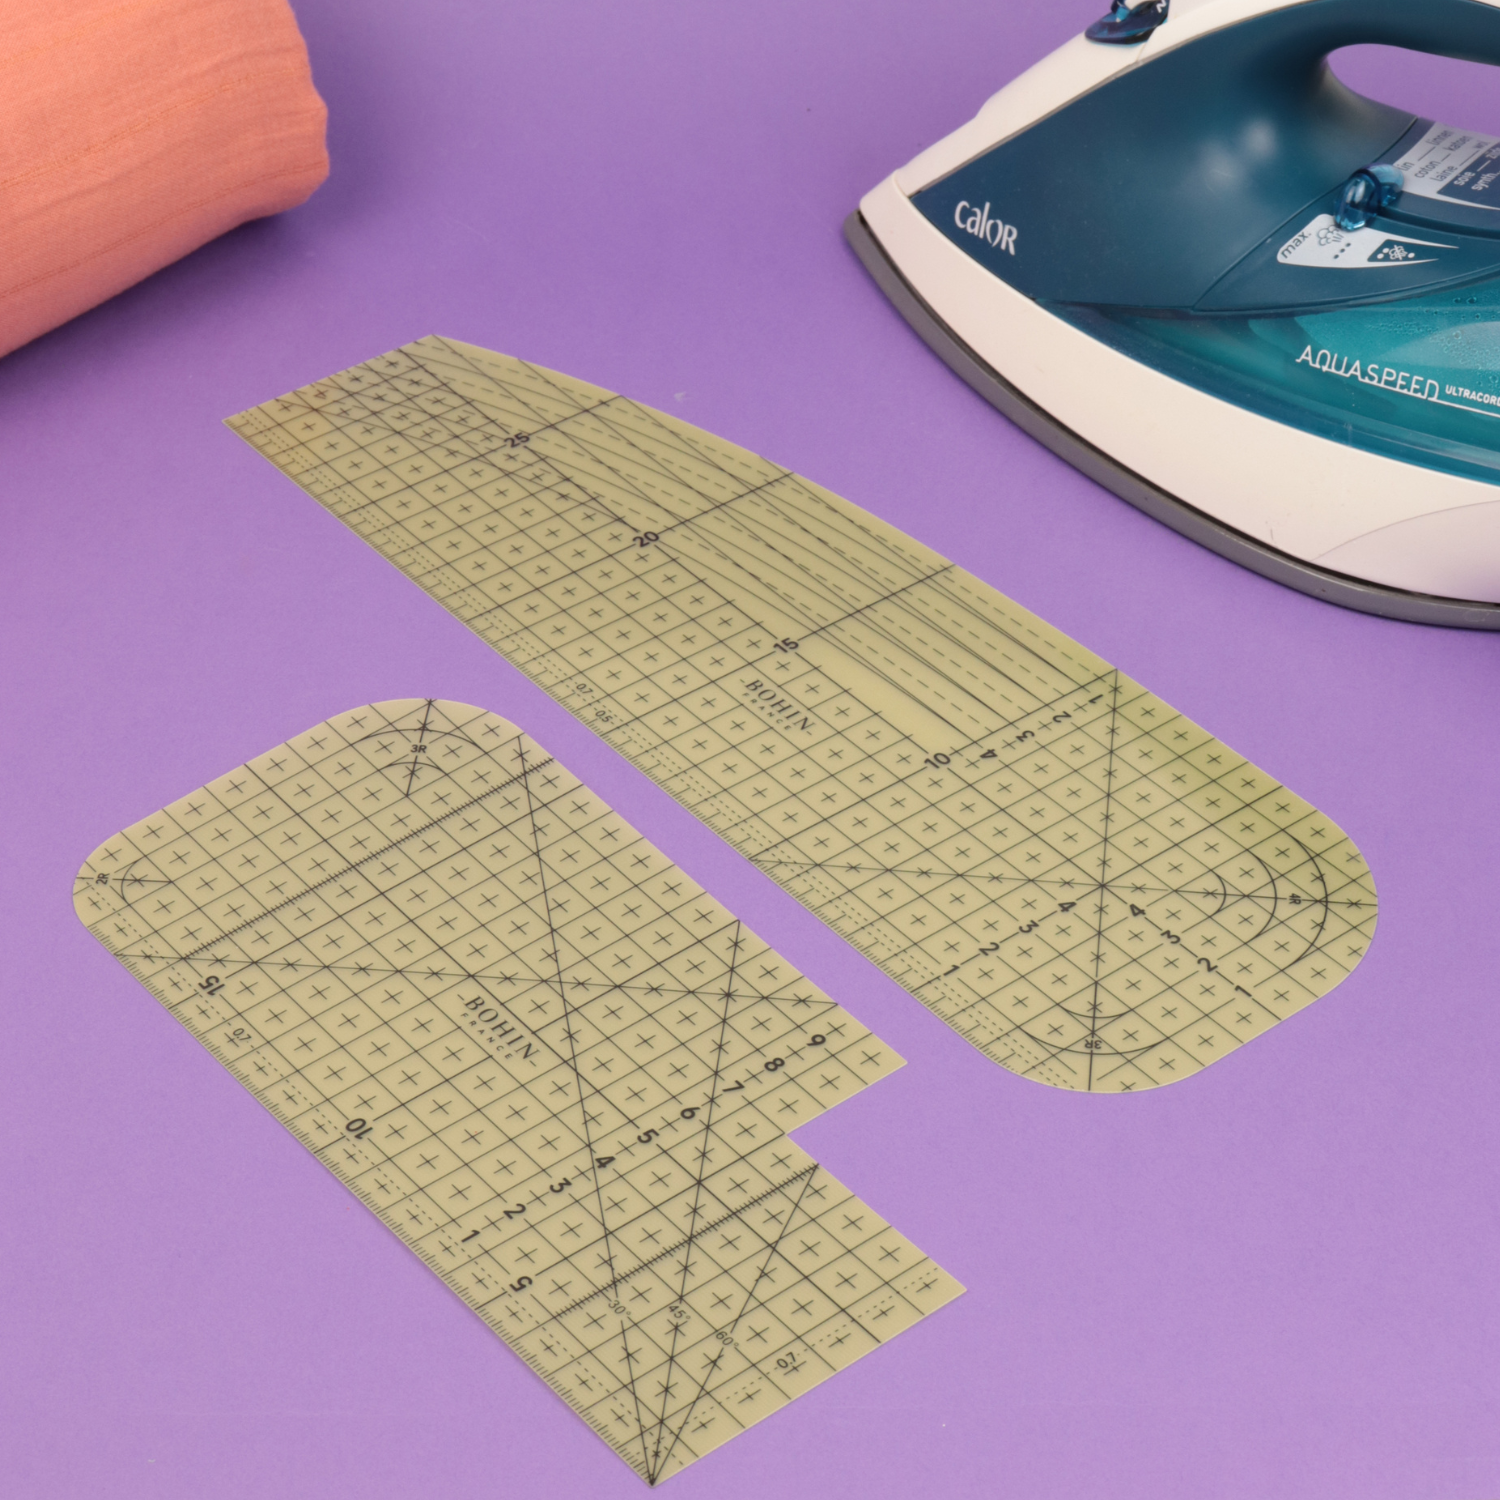
Start your assembly wrong sides together. Pin your seam and sew with a straight stitch for a first assembly. You can shift your needle position to the right to further reduce your seam allowance during this first pass. Press your seam and fold both seam allowances to the same side. Fold your fabric right sides together. You can stabilize your seam with an iron. Pin your seam allowance. Check that your seam allowance is not visible between your pins. Stitch your seam with a straight stitch. Press the hem with an iron. Topstitch to flatten everything if you want to make your project reversible.
The finish of your seams is clean. Your assembly is solid. And your sewing project is reversible, even without lining! To ensure a perfect result, we recommend our range of pins.
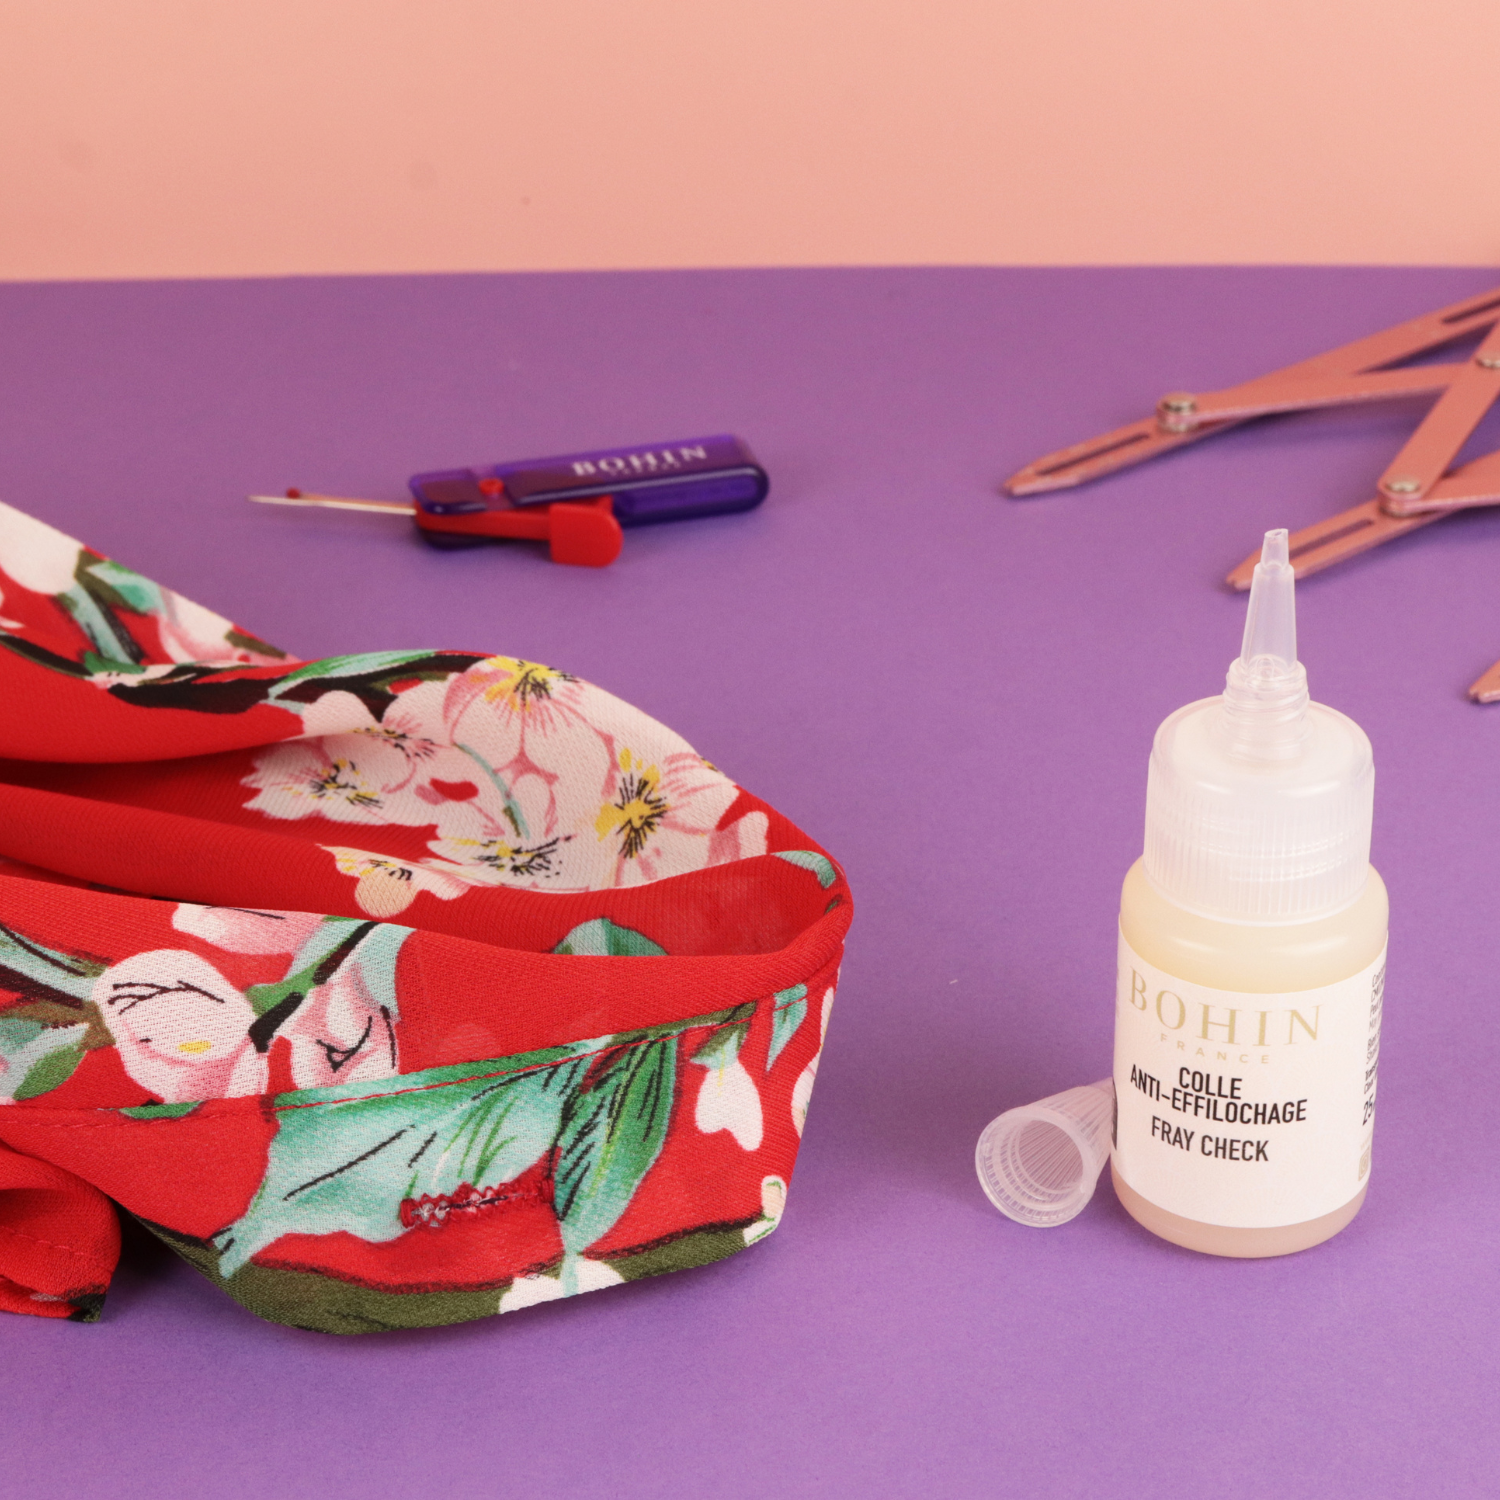
Simpler finishes with anti-fray glue
Even simpler to prevent fabric from fraying: glue the edges.
- Clean the raw edges of any protruding threads with straight-blade scissors.
- Apply a few drops of BOHIN anti-fray glue to the edges.
- Wait for it to dry.
The raw edge of your fabric will no longer fray!