Knitting, crochet: how to properly block your work
How to block your knitting or crochet?
Blocking is an essential step in both knitting and crochet. Often overlooked, it nevertheless allows a finished project to reach its full potential. A blocked piece has more even stitches, neat edges, and a more stable shape. It's a crucial finishing touch!
In this article, we explain what blocking is for, when to do it, and how to do it simply.

What is the purpose of the blockage?
Blocking allows you to shape your project after knitting or crocheting. It helps to even out stitches, open up lace patterns, harmonize edges, and give the project its final dimensions. It allows the project to maintain a consistent shape over time.
When to block off your work?
Blocking is done once the project is finished (and after assembly, if applicable). It is the final step before wearing, washing, or giving away your creation.
The different blocking methods
Wet blockage
This is the most common and effective method.
Soak the item in lukewarm water for 20 to 30 minutes to ensure the fibers are evenly moistened. Then remove the excess water without wringing the item: roll it in a clean towel and gently squeeze out the excess water.
Lay the work flat on a mat or blocking board, or on your usual support, then shape it.
Dry blocking
It is possible to block a piece without wetting it, when the shape is already satisfactory or only a slight adjustment is needed. This method is gentler, but sufficient for many projects.
Steam blockage
Steam blocking is used for "lightweight" pieces or projects that don't require significant shaping. It allows the stitches to relax slightly and improves the drape, without fundamentally altering the structure of the garment.

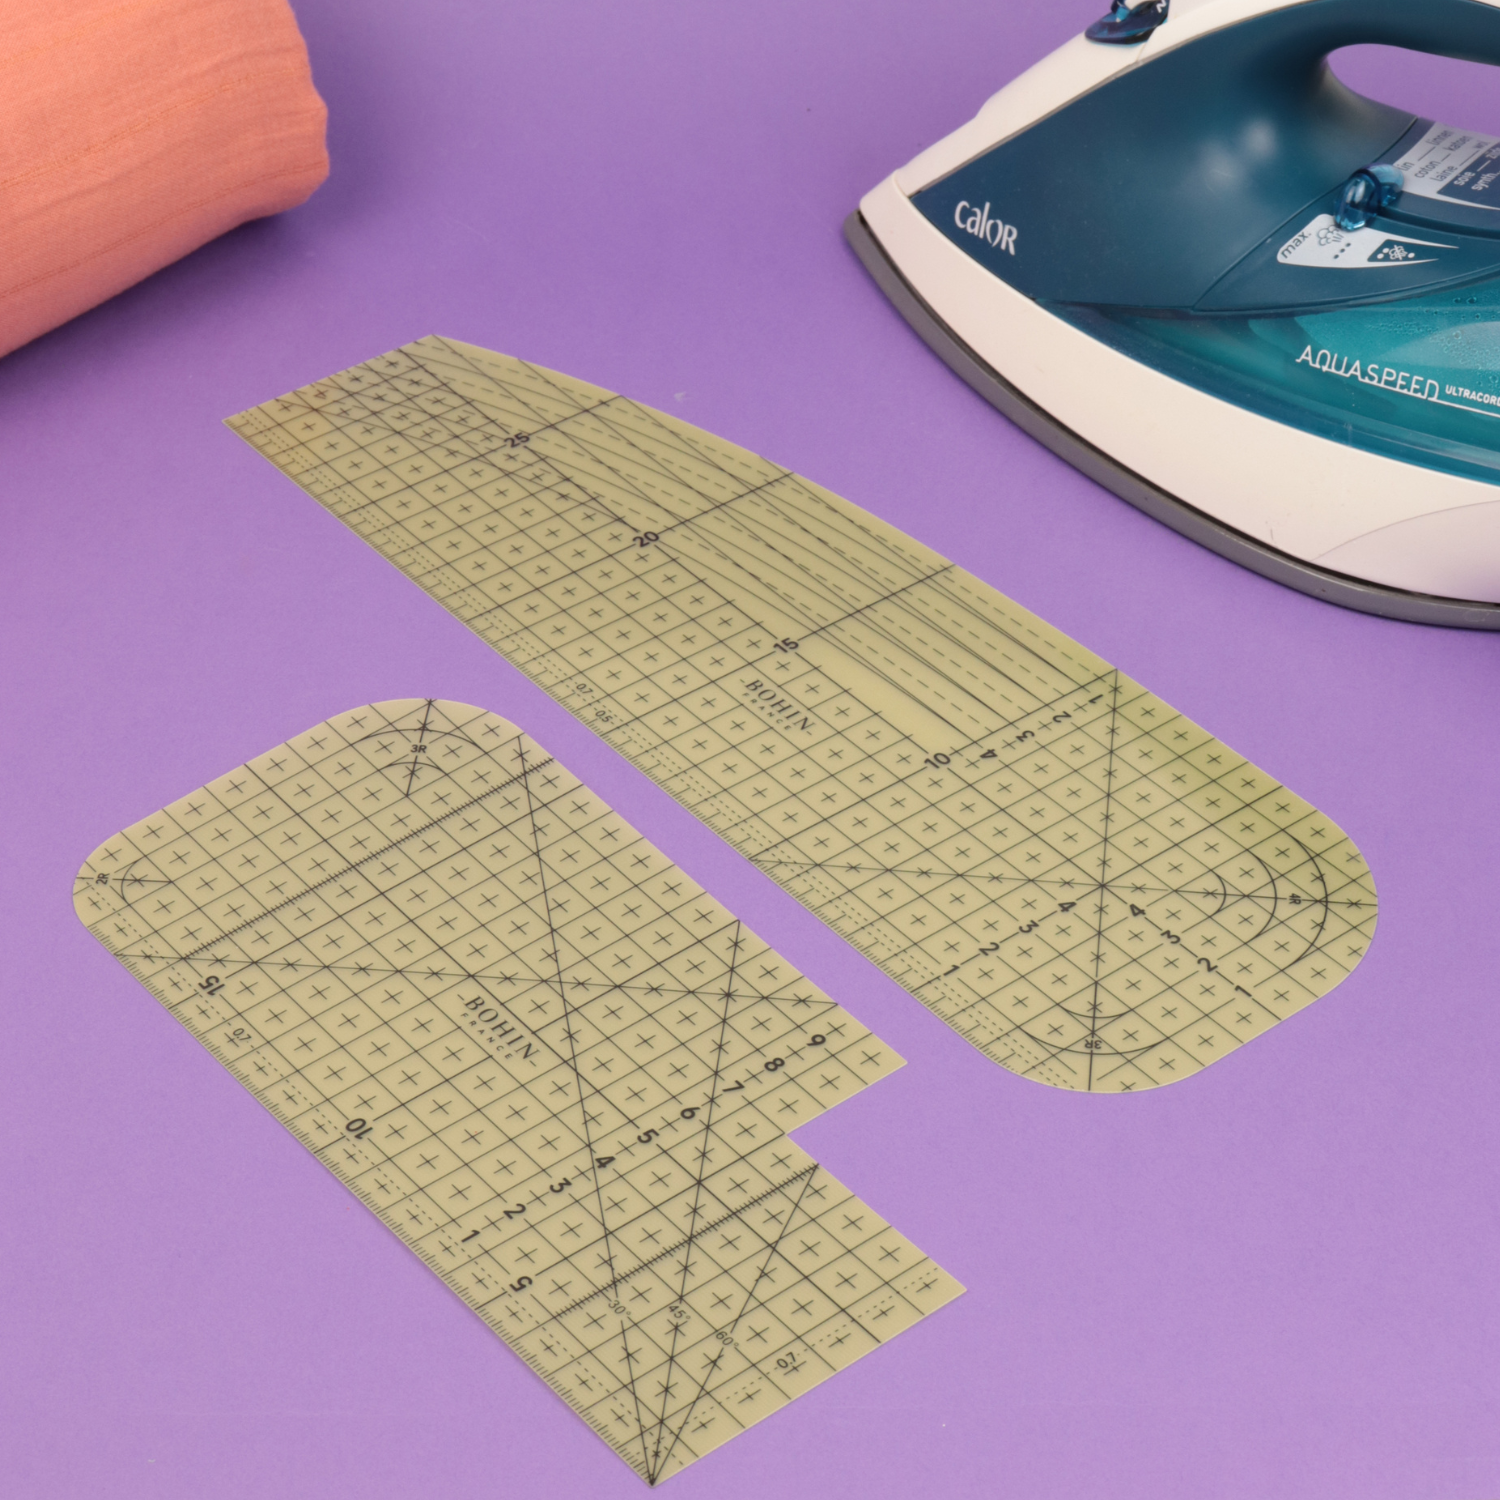
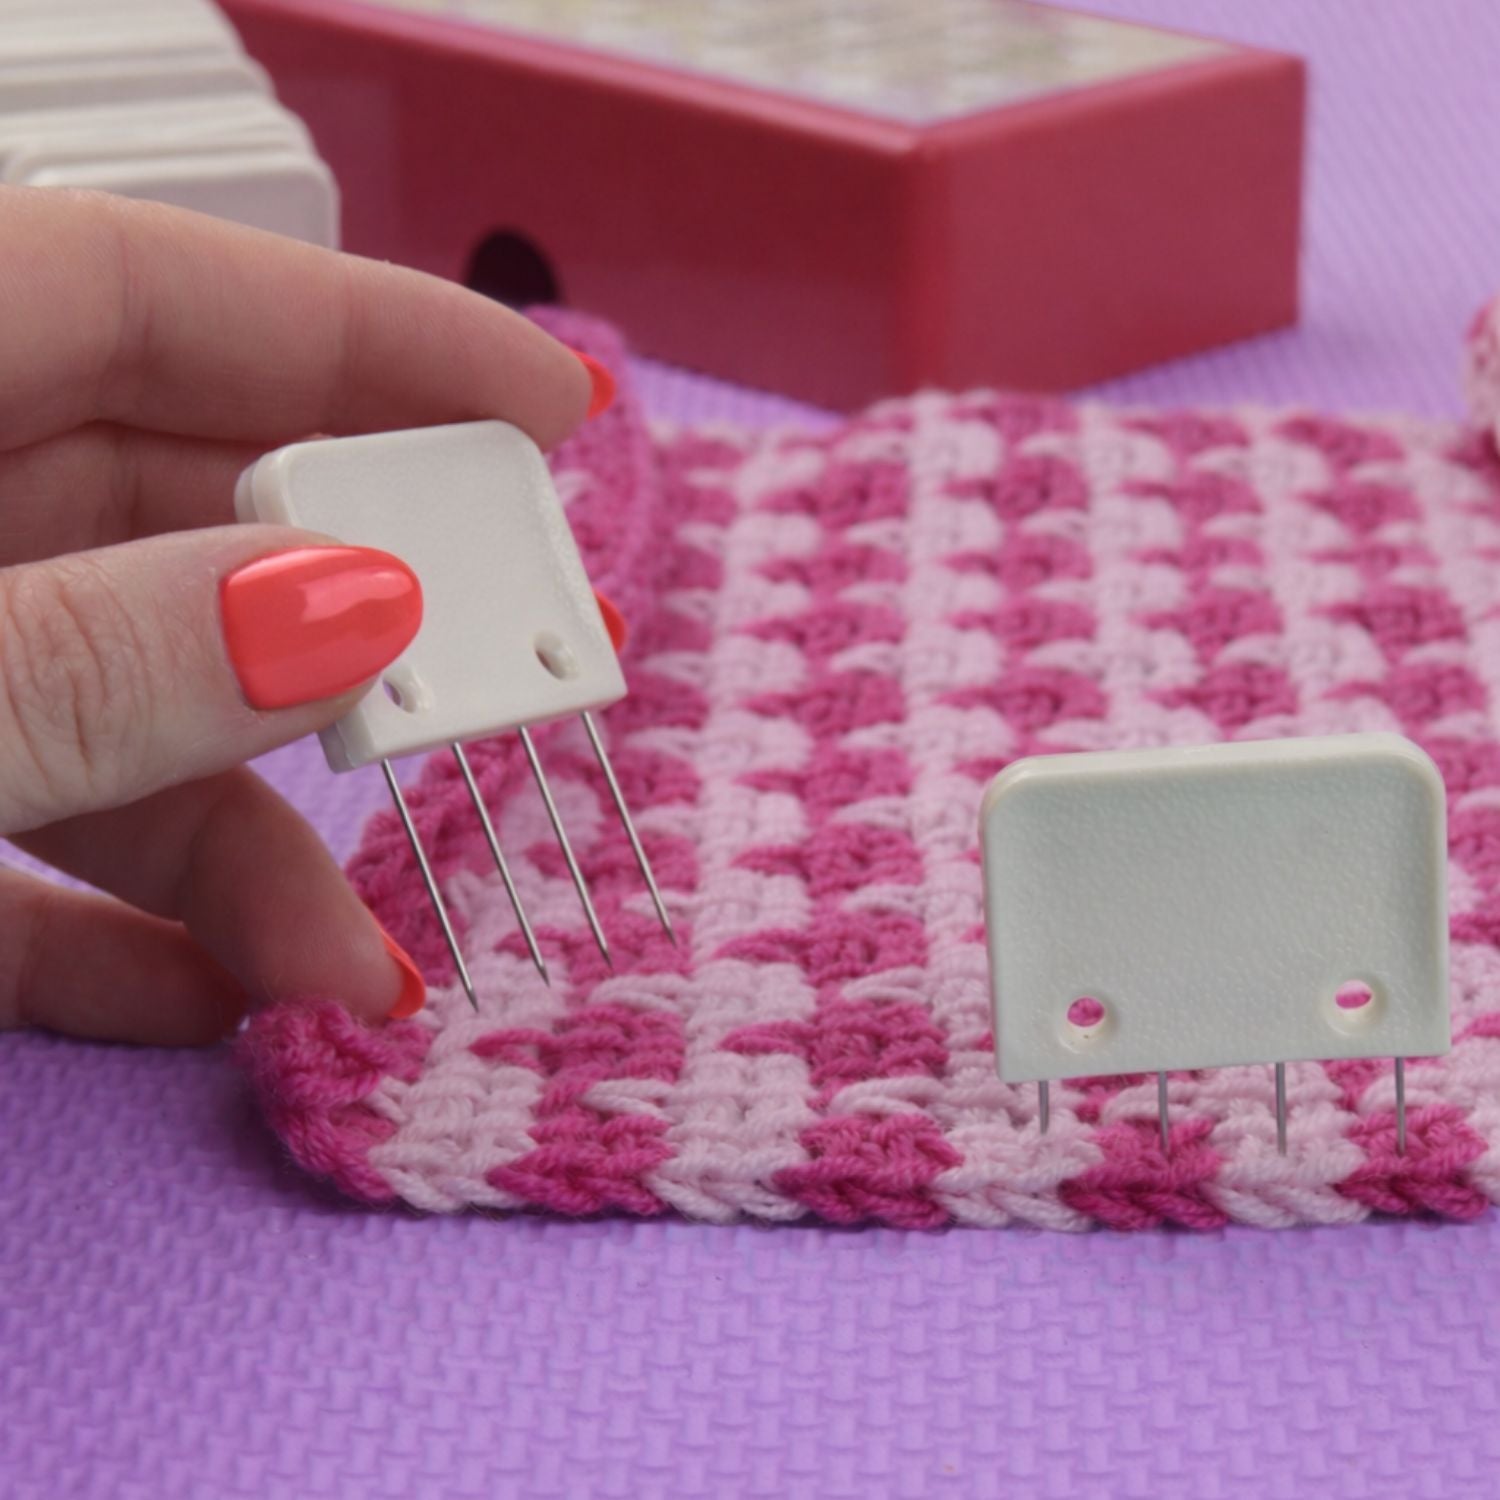
How to use combs and pins for precise blocking
Get your combs and T-shaped locking pins ready.
Trick : Combined in a single box , combs and hairpins remain within easy reach and are easy to store!
For straight edges , place the combs every 5 to 7 centimeters, depending on the density of the knitting or crochet. The large 8-tooth combs are approximately 7.5 centimeters long, allowing for even tension over long lengths.
For curved edges and points , space the T-pins 2 to 3 centimeters apart to precisely follow the shape of the work, without creating excessive tension.
There's also a technique that involves stretching a thread between the pins, passing it through the stitches at the edge. This method is longer, but very effective for curved edges (or when you don't have enough combs and pins!).
Once the piece is correctly positioned, let it dry completely before removing the combs and pins.
One simple step for a perfect result!
Blocking requires neither special expertise nor complex equipment, but it truly transforms the final appearance of a piece. Once you've incorporated this step into your routine, it becomes second nature!